DesignEvo for iOS Getting Started Tutorial
1. Choose a Template
Open DesignEvo on your iOS device. Then you can swipe right to scroll through the logo categories at the top such as Abstract, Animal, Art, Business, Letter and Fashion.
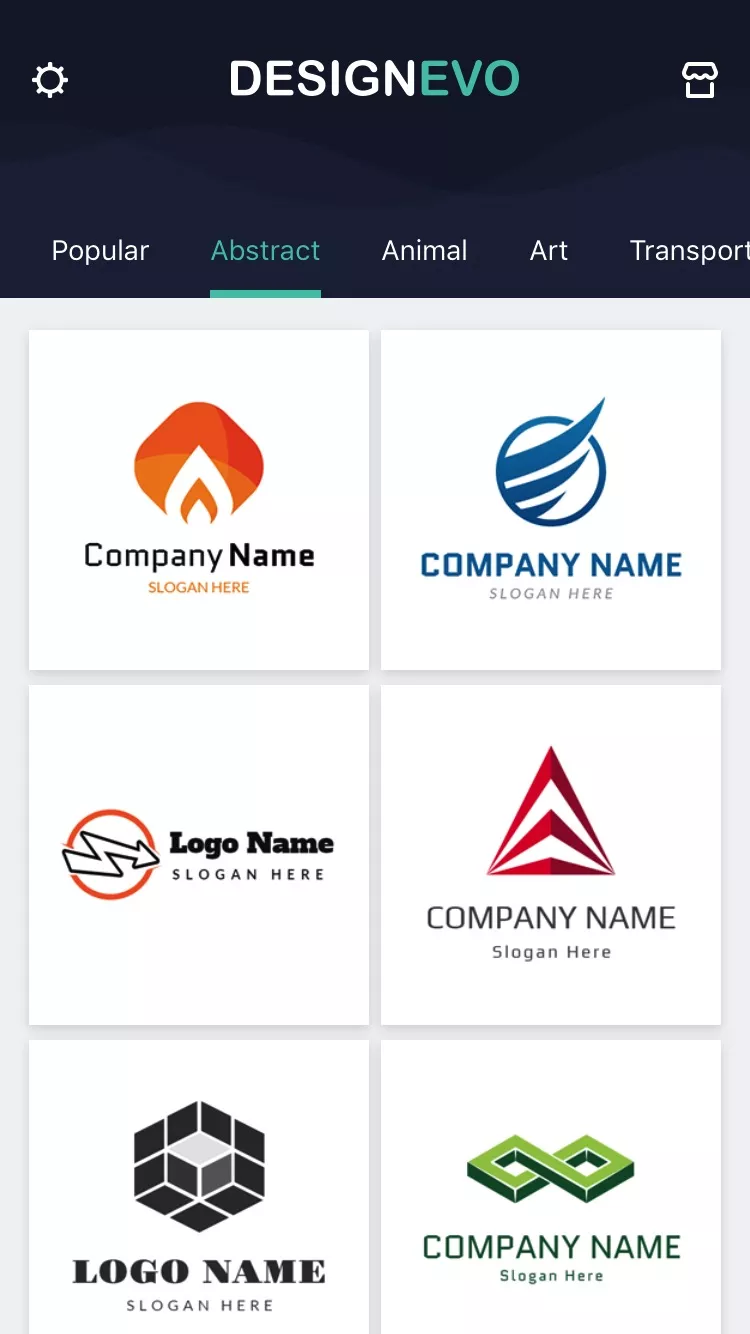
Select a category that fits your needs perfectly and then tap on any template you like to start customizing it. You can scroll down to browse through all free templates.
Tips
To unlock more templates under each category, you need to purchase a related package.
2. Add and Edit Text
Add Text
Tap on the ”Text” button and then a new text object will be added on the canvas.

You can directly enter whatever you want using input panel.
Enter Text
Double tap on any text object and then the input panel pops up. Enter your text and tap “Done” to save it.

Tips
Tap a blank area of the canvas to deselect any object.
Select Font
Select any text object and the editing panel appears at the bottom of screen.
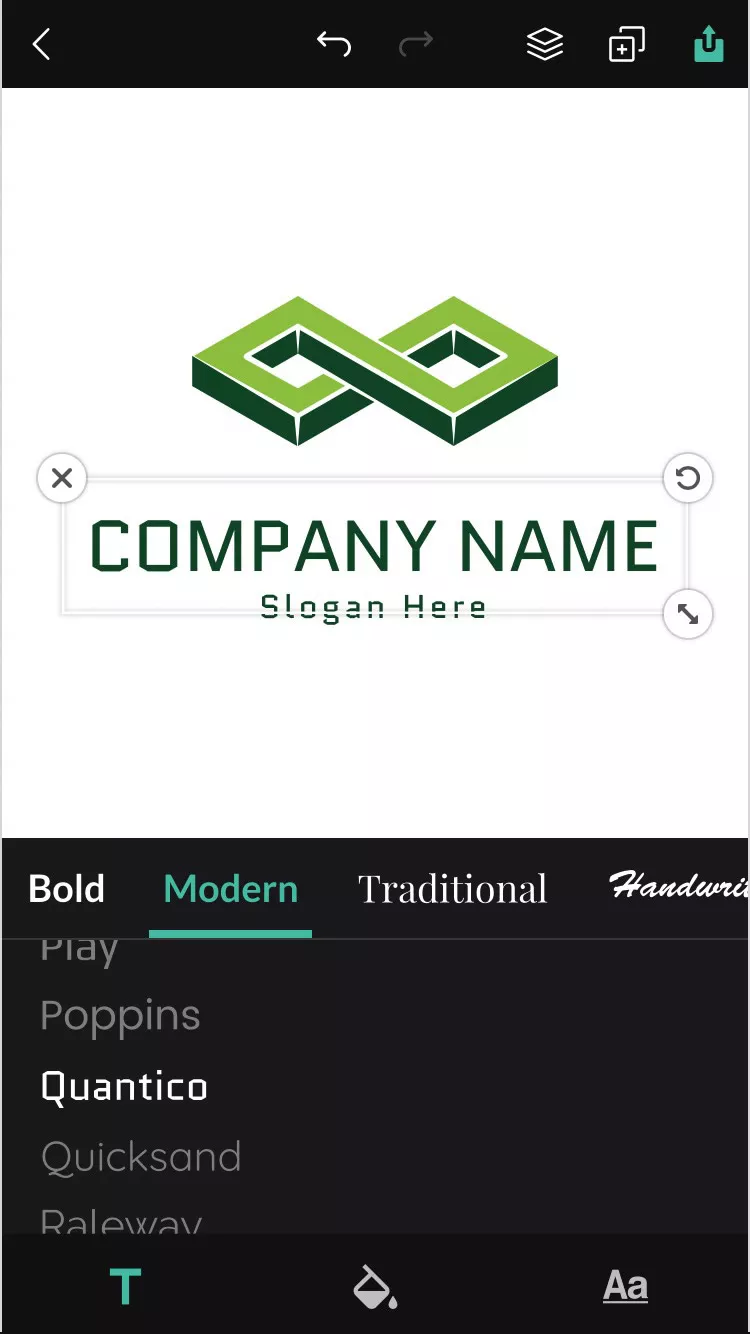
Tap on the Font button  and then choose any desired font to use under different categories such as Bold, Modern, Funny, and Handwrite.
Tips
Tap or swipe through to select the font category you like.
Adjust Text Color
Tap on the Color button  and then select a default color to use. Or add a custom color by tapping on + button under the Used Color section.
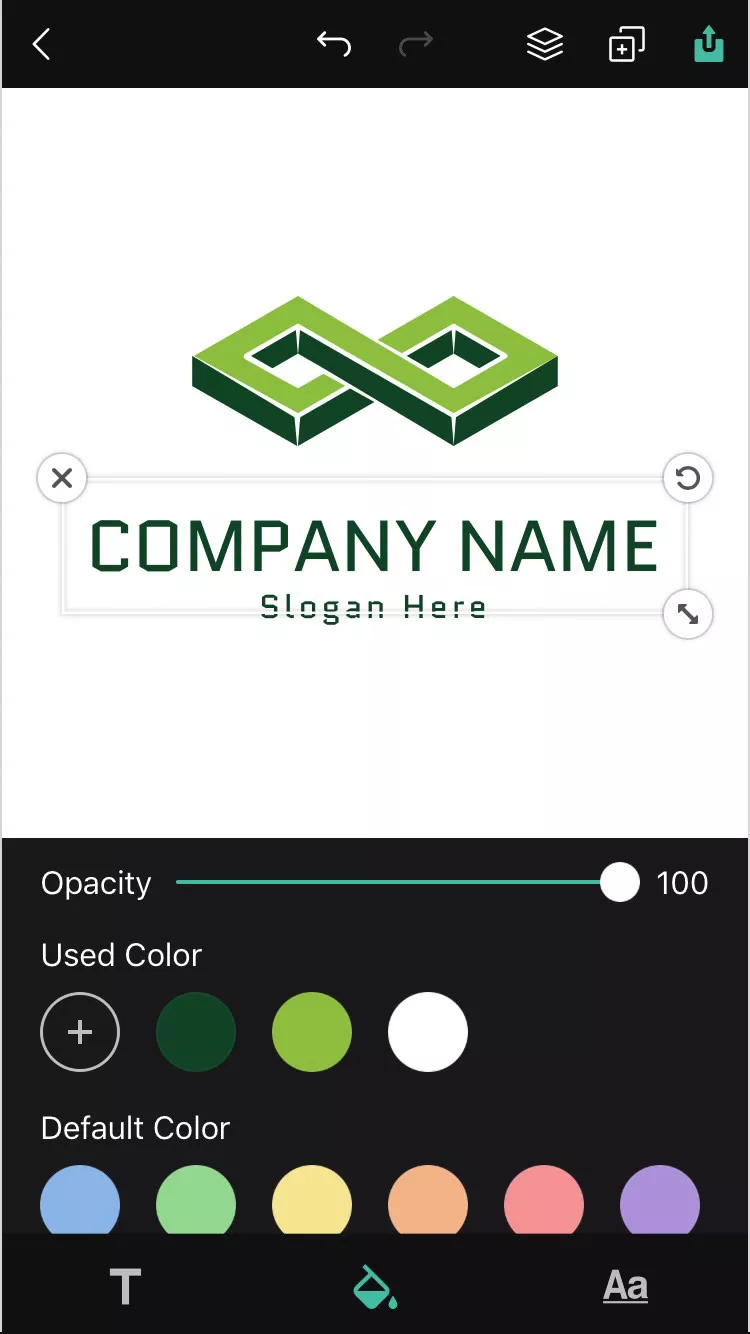
Drag and move the slider to adjust opacity properties for text.
Set Text Format
Tap on the Format button  and you can make format changes to meet your own needs.
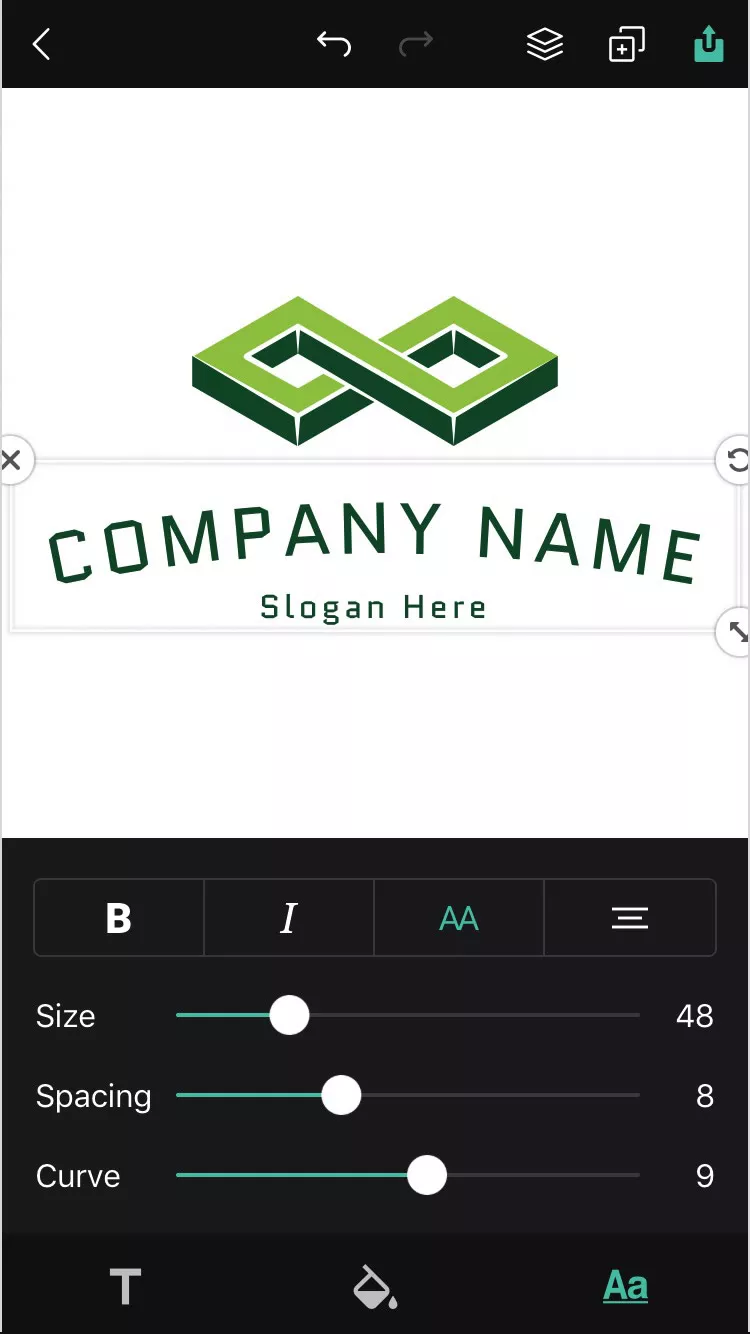
Tap on the appropriate button  to quickly set text as bold (1), italics (2), uppercase/lowercase (3), or align text to left, center or right (4).
Drag and move the sliders to change text size, spacing and curve text.
Tips
When you curve multiline text, it turns into single line. By adjusting the value to zero, it converts to multiline format.
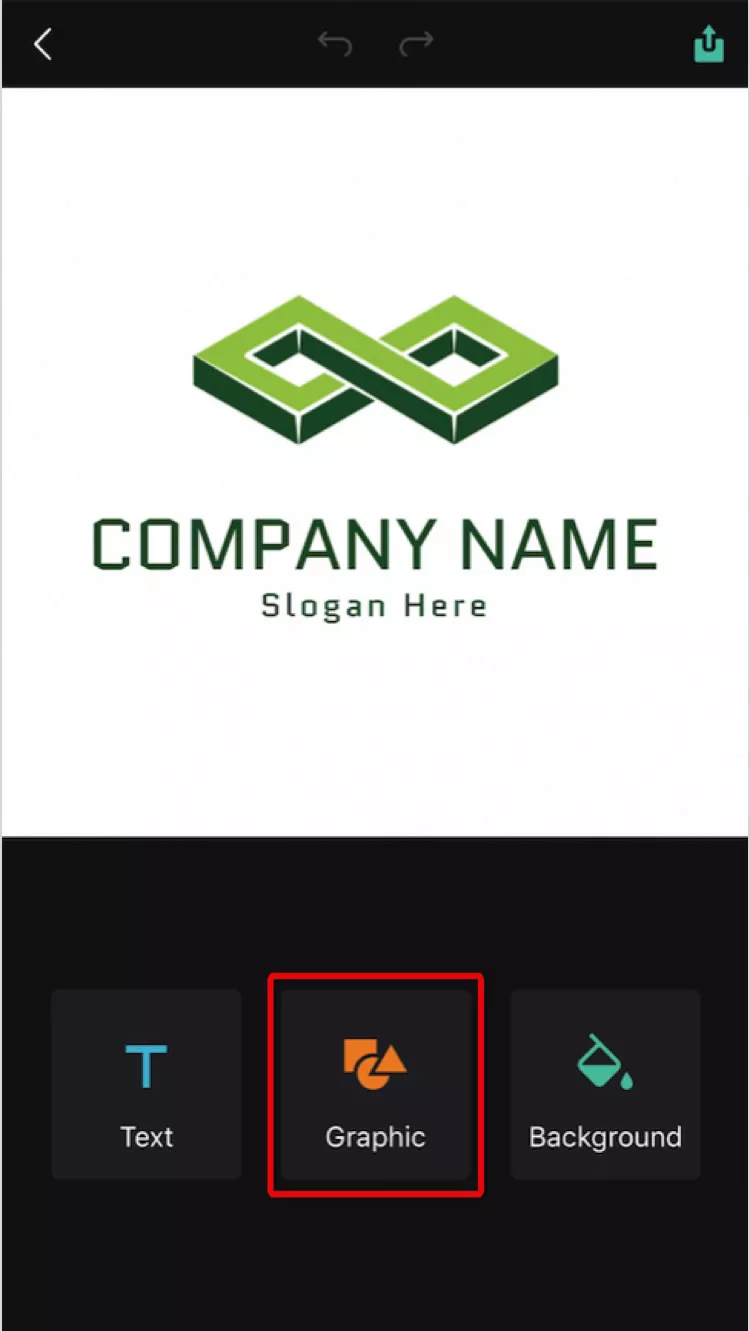
3. Add and Edit Graphic
Add Graphic
Tap on the “Graphic” button and then choose from 100+ preset graphic images.
All the graphic images are arranged into several categories: Badge, Decoration, Line, Solid Shape, Outlined Shape, Banner, and Symbol.
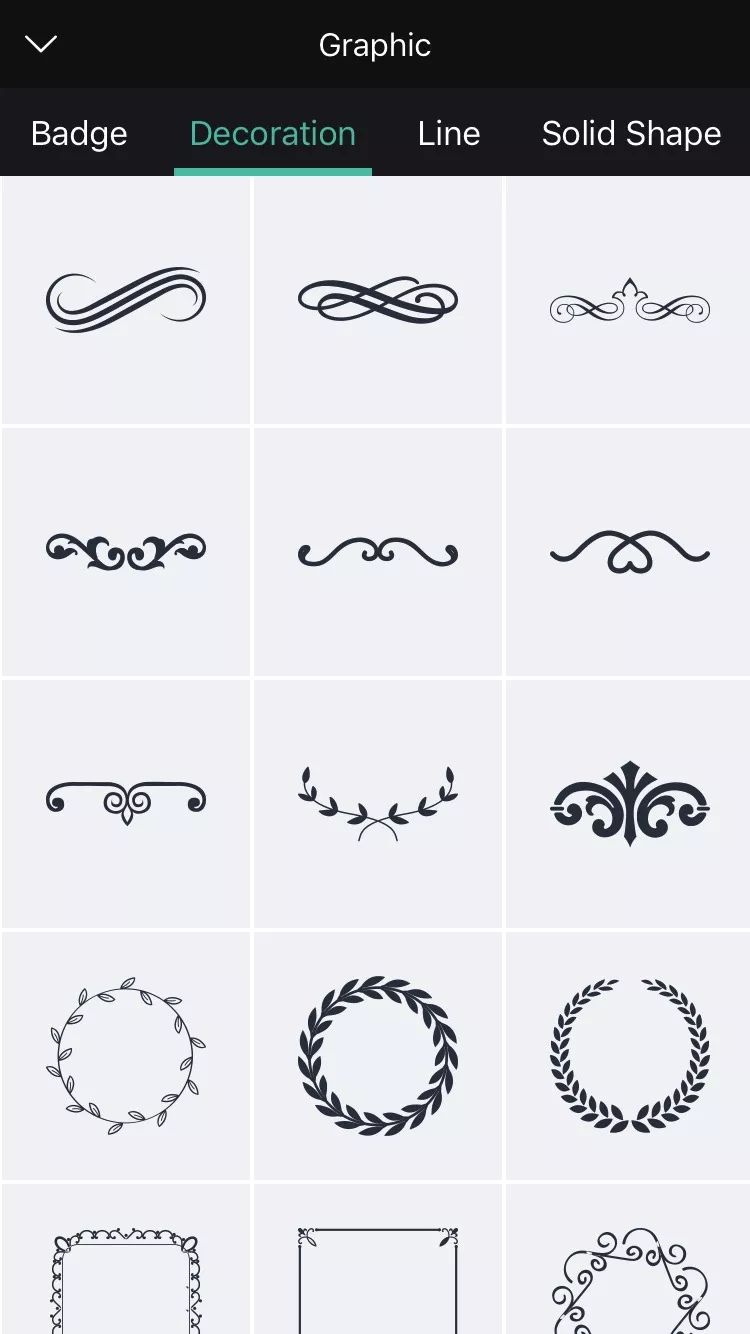
Swipe right to choose a category and then scroll down to preview all items available. Tap on the image you’d like to use to add instantly to your design.
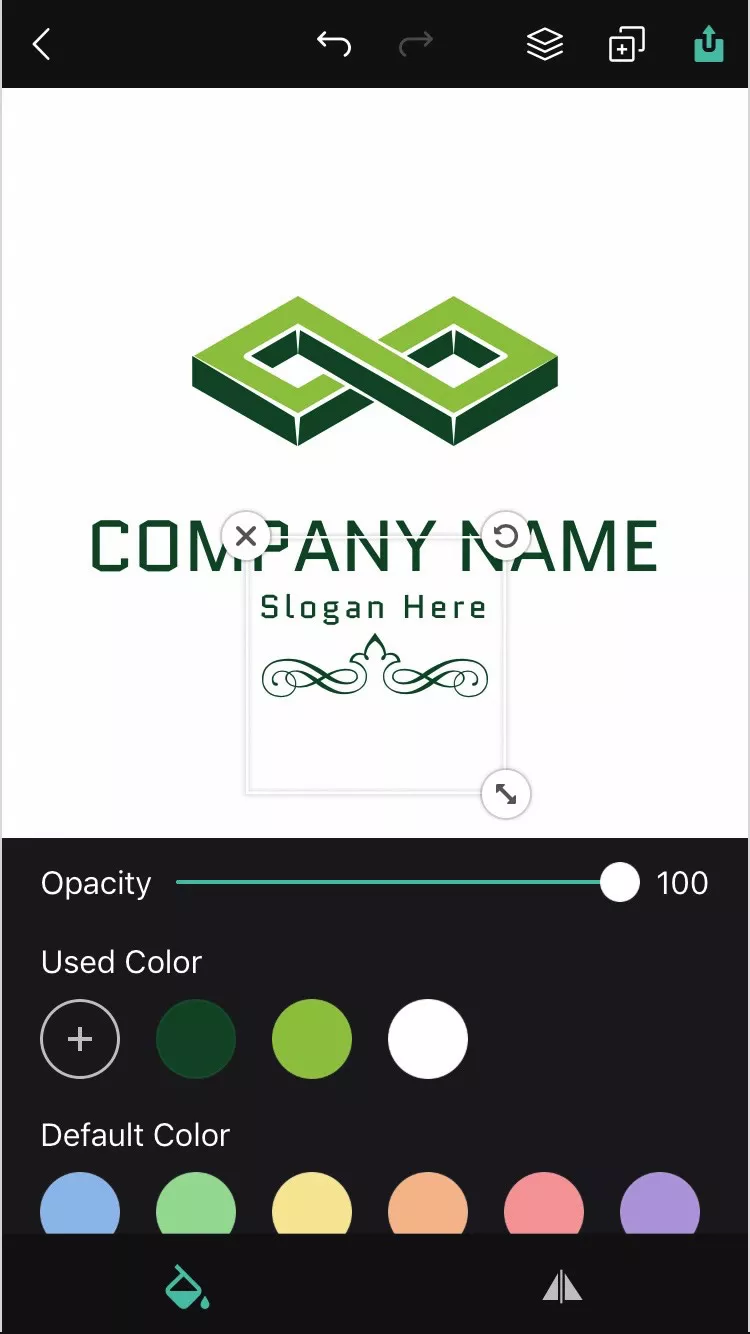
Adjust Graphic Color
Choose a graphic image on the canvas and the editing panel appears at the bottom of screen.
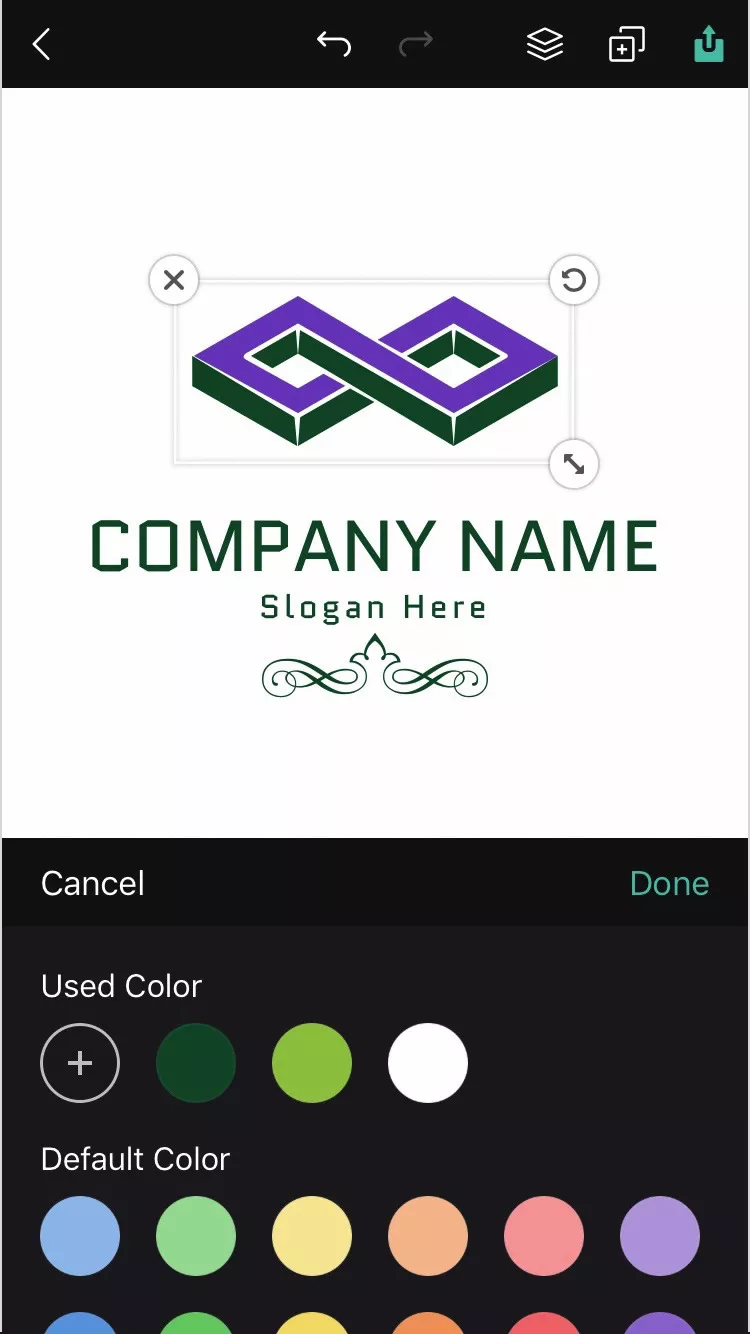
1. When you choose an image with one single color to adjust.
Tap on the Color button and then select a default color to use. Or add a custom color by tapping on + button under the Used Color section.
2. When you choose an image with multiple colors to adjust.
After tapping on it, you will see the corresponding color brushes appearing in the middle. Tap on any brush to change currently used color.

Select a default color to use or add a custom color by tapping on + button under the Used Color section.
Drag and move the slider to adjust opacity properties for the graphic image.
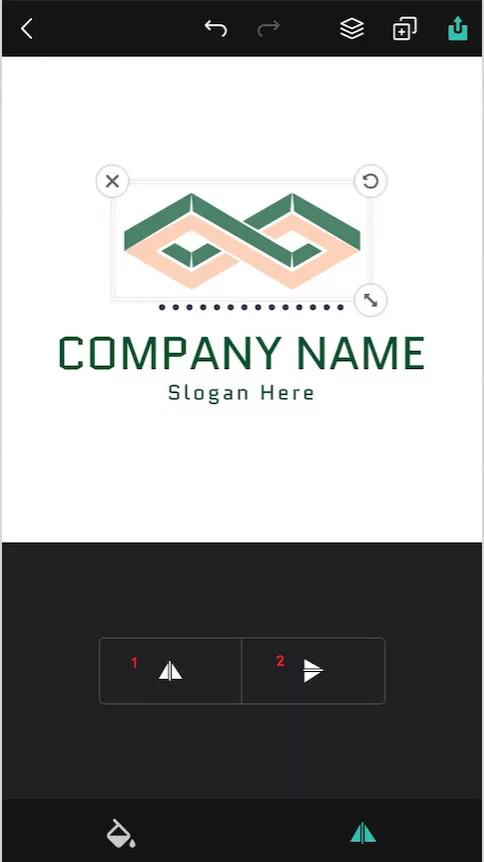
Flip & Mirror
Switch to the Flip option and then tap on button (1) or (2) to flip the graphic image horizontally or vertically.
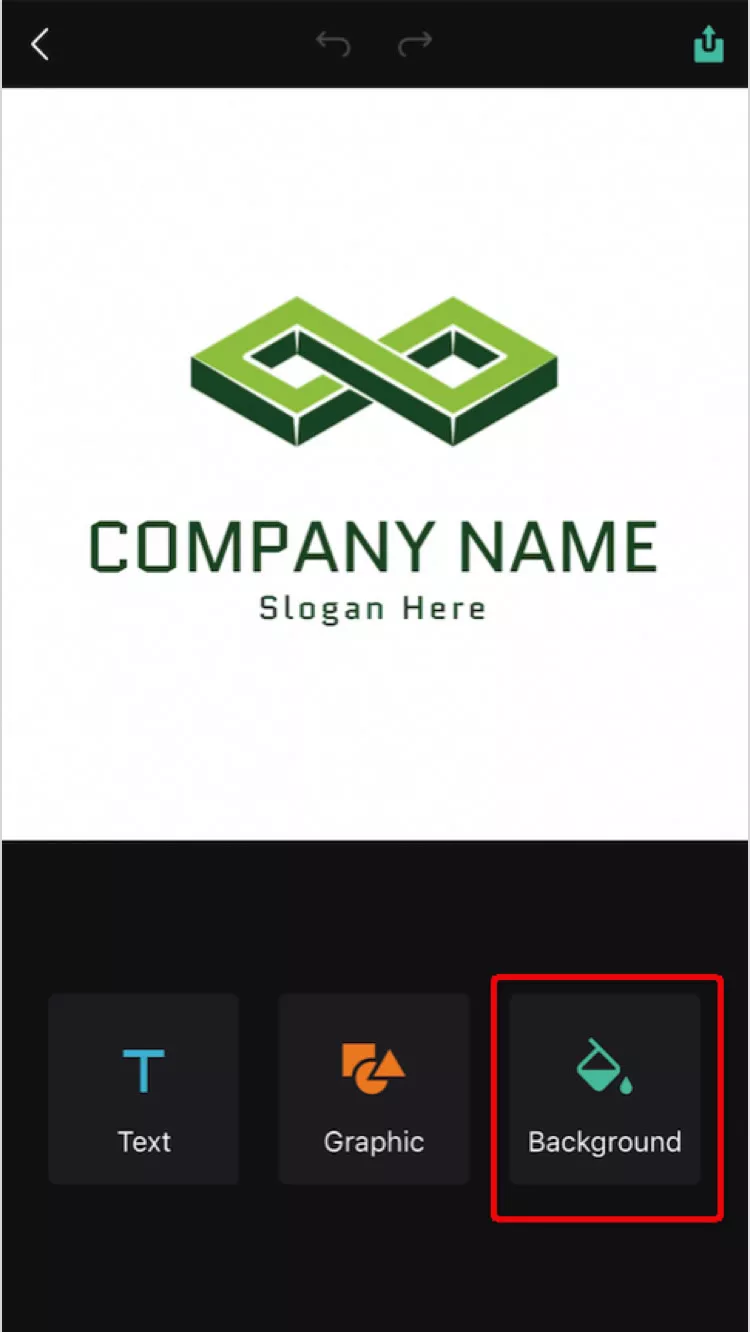
4. Set Background
Tap on the ”Background” button and personalize the background color.
Select a default color to use. Or add a custom color by tapping on + button under the Used Color section.
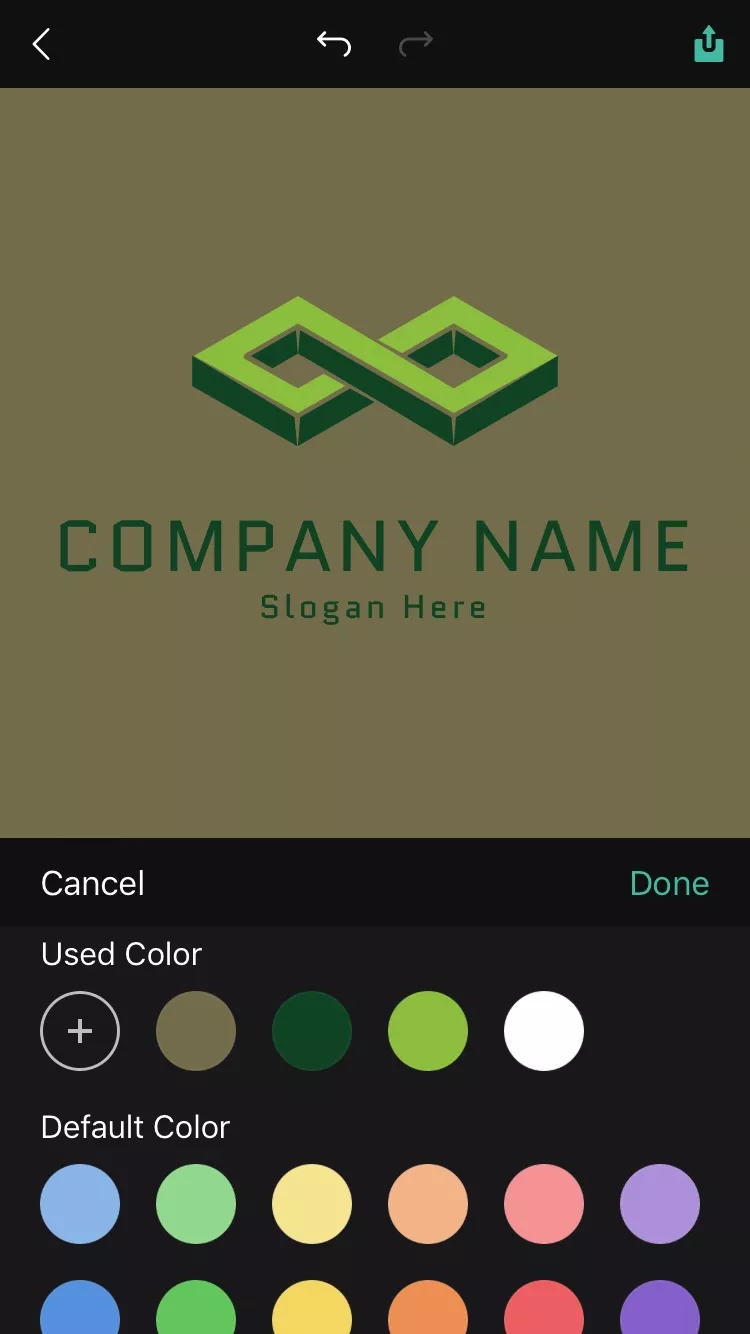
Tap “Done” to save changes.
5. Export
Tap on the button  in the top right corner of screen to export your logo.
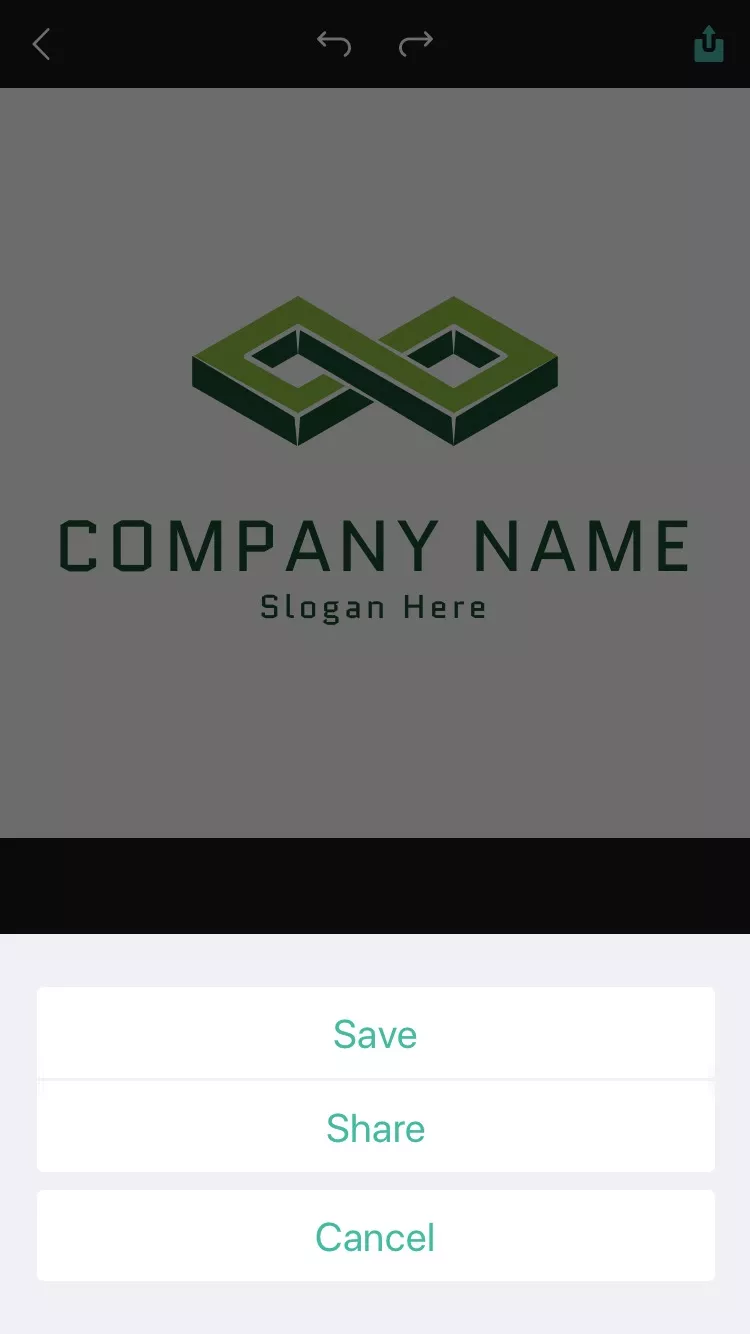
Choose Save option and then save your logo in JPG, PNG or transparent PNG format.
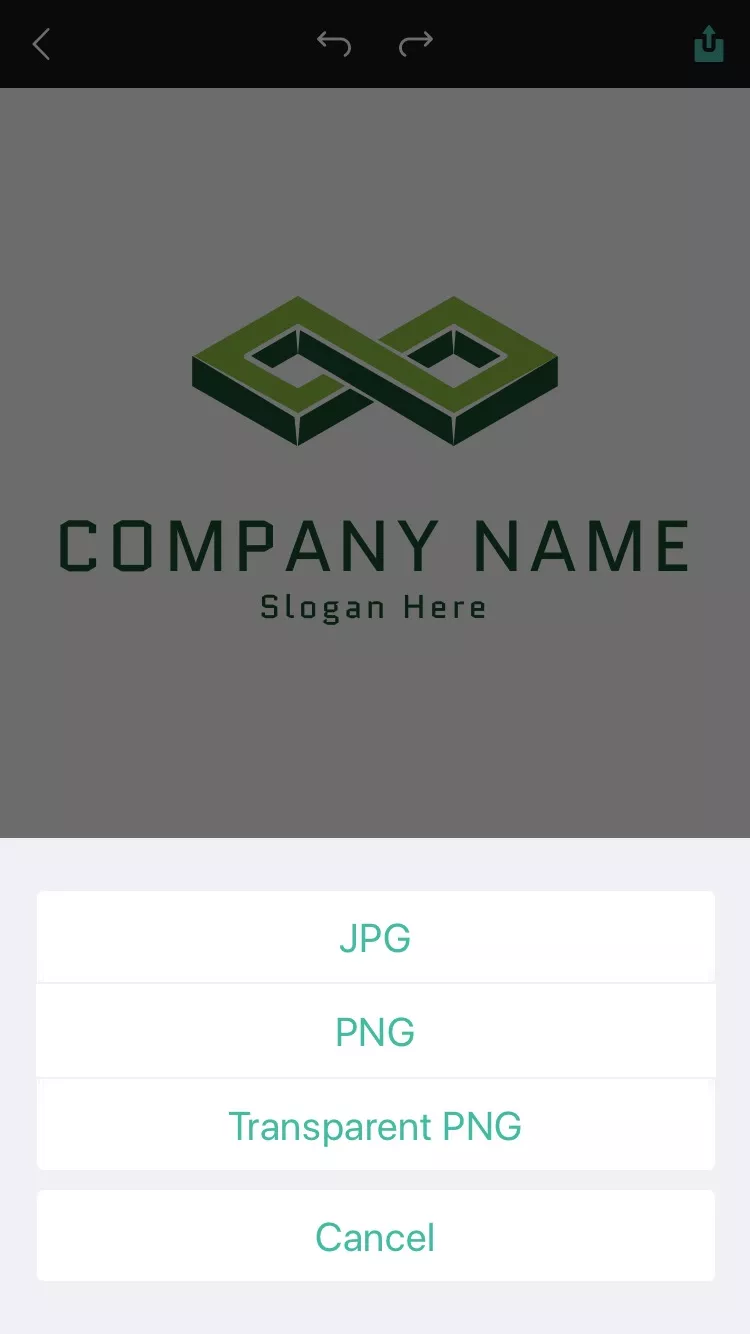
Choose Share option and share your logo via email, message, your favorite social media apps and more.

6. More
Undo/Redo
Tap on the button  at the top of screen to undo the last action you did.
Tap on the button  at the top of screen to redo the effect of undo action quickly.
Manage Layers
Tap on the button  at the top of screen to manage layers for any selected object - move it forward or backward as required.
Duplicate
Tap on the button  at the top of screen to duplicate any selected object quickly.
Move/Resize/Rotate/Delete
Tap on any object that you want to adjust and the white box appears around it.
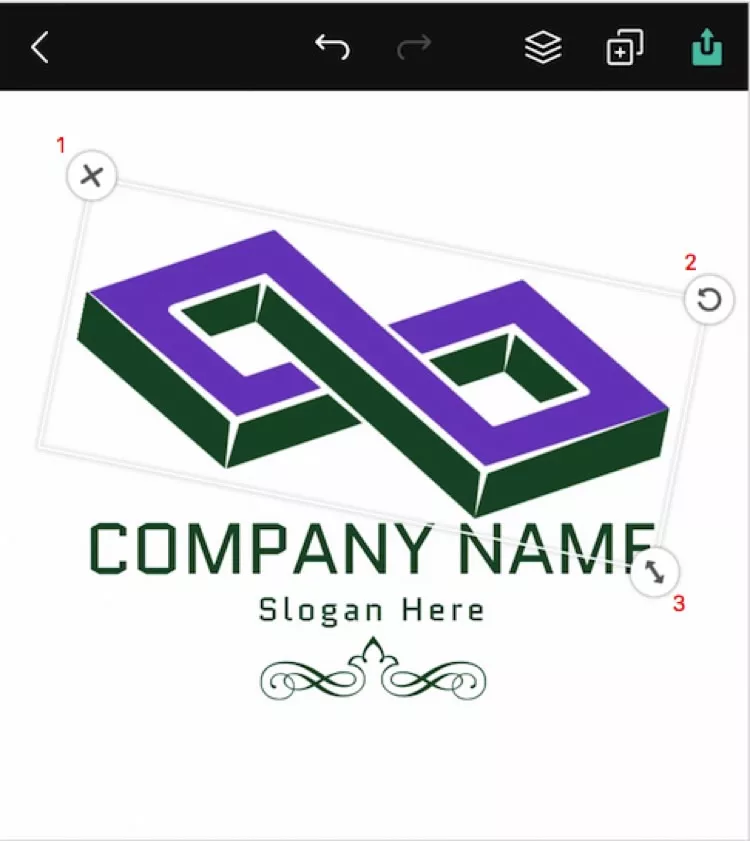
Long press and move your fingers on the screen to reposition it anywhere.
Hold down on the resize button (3), and then drag to resize it.
Hold down on the rotate button (2), and then move your fingers to rotate the object 360 degrees.
Simply touch the button (1) to delete it.